
Quick Summary: Knowing how to clean makeup brushes properly at home makes a real difference – to your skin, your application, and how long your tools actually last. This guide covers every method, from deep cleans to quick-dry spot cleans, plus what to use, what to avoid, and when it’s time to replace. To clean makeup brushes: wet the bristles, apply a small amount of cleanser to the tips, swirl gently to lather, rinse until clear, squeeze out water, then reshape and dry at a downward angle.
Table of contents
- Why Cleaning Your Makeup Brushes Actually Matters
- How Often Should You Clean Makeup Brushes?
- Step-by-Step: The Best Way to Clean Makeup Brushes at Home
- The Biggest Mistakes People Make
- How to Clean Makeup Brushes Fast (Including Spot Cleaning)
- Waterless Brush Cleansers: Fastest Way To Clean Without Water
- How to Clean Makeup Sponges and Beauty Blenders
- The Best Makeup Brush Cleaners and Tools
- How to Dry Makeup Brushes Properly
- Frequently Asked Questions
Why Cleaning Your Makeup Brushes Actually Matters
Bacteria, Oil, and Product Buildup
It doesn’t matter what your skin is like – brush cleaning matters across the board. Damp makeup products create a near-ideal environment for bacteria to grow, and brushes pick up oils from both the products you use and your skin itself.
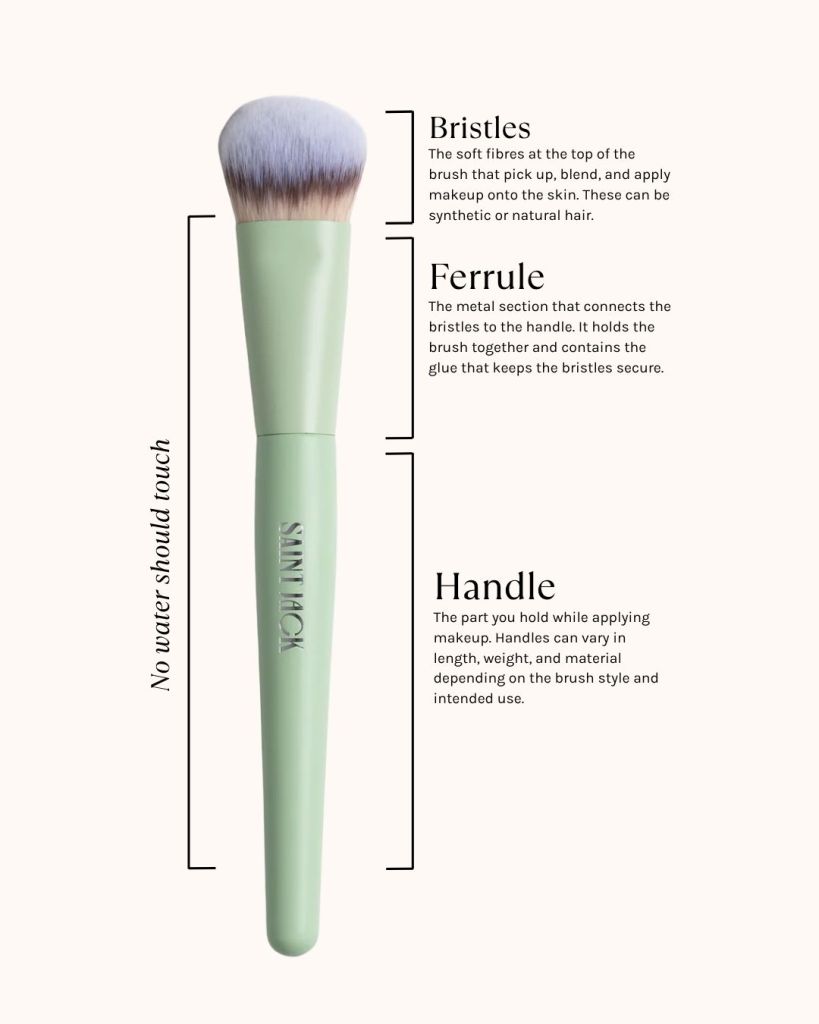
Product residue works its way down toward the bristle base over time, sitting around the ferrule where the glue holds everything together. That’s not just a hygiene issue. It degrades the brush structure.
How Dirty Brushes Affect Your Makeup
Ever noticed your foundation looking patchy or your blush going streaky, even when the product itself is fine? Old, caked-up residue changes the texture of how a brush applies product.
It affects how well pigment blends, how seamlessly formulas sit on skin, and can cause pilling – that frustrating texture where your base seems to roll off rather than melt in.
Can Dirty Brushes Cause Breakouts?
Yes – and this is often the real culprit when makeup gets unfairly blamed for congestion.
Acne-causing bacteria can transfer from a dirty brush back onto your skin with every use, and brushes loaded with old product can exacerbate existing blemishes even without any bacterial involvement. If your skin is breaking out and you can’t work out why, start with your tools.
How Often Should You Clean Makeup Brushes?
As a general rule, once a week for a proper deep clean. If you have sensitive or acne-prone skin, wiping brushes down or sterilising them after every use is worth the habit.
That doesn’t mean a full wash every single time – a quick spot clean can do the job between deep cleans, and we’ll get to that below.
Step-by-Step: The Best Way to Clean Makeup Brushes at Home
This is the classic deep clean method – sink, soap, and a bit of patience. To clean makeup brushes: wet the bristles, apply a small amount of cleanser to the tips, swirl gently to lather, rinse until clear, squeeze out water, then reshape and dry at a downward angle.
Let’s go through in detail step-by-step.
What You’ll Need
- Gentle liquid soap or a cake brush cleanser
- Lukewarm water
- A silicone cleansing mat, palm of your hand, or silicone shower loofah
- A clean towel
Wet the Bristles
Run the bristles under lukewarm water before adding any product. Hold the brush angled downward so water flows through the tips – not back toward the ferrule (the metal band where bristles meet handle). Avoid soaking the entire brush.
Add Cleanser to the Tips
Apply a small amount of cleanser to the very ends of the bristles only. If you’re using a liquid soap, pour a little into a separate dish and dip the brush in rather than applying directly. You can always add more – start small.
Swirl Gently to Lather
Work the bristles in small circular movements against your palm, a silicone cleaning mat, or a silicone shower loofah. Don’t press hard or splay the bristles outward. Let the cleanser do the work.
Rinse Until the Water Runs Clear
Rinse with lukewarm water, keeping the brush tilted downward. Repeat the cleanse-and-rinse cycle until no colour or residue remains in the water.
Squeeze Out Excess Water
Gently press from the ferrule toward the tips using your fingers or a clean towel. Don’t pull or tug – wet bristles are more fragile and easier to damage.
Reshape and Dry at a Downward Angle
Reform the bristles back into their original shape with your fingers, then lay the brush on the edge of a surface so the head hangs slightly downward.
Drying flat traps moisture; drying upright lets water seep into the ferrule and loosen the glue over time.
For Caked-In Makeup or Dense Foundation Brushes
For dense brushes – think fluffy powder brushes or flat foundation brushes with a lot of product worked into the base – a small amount of micellar water mixed into the lather can help shift stubborn buildup.
Spend a bit more time on the lather step rather than pushing harder. Pressure doesn’t clean better; it just damages faster.
The Biggest Mistakes People Make
Soaking the Ferrule (or Soaking Your Brushes)
This one ruins brushes. The ferrule is where the bristles, handle, and glue all meet – get water in there regularly and the adhesive softens, bristles start to loosen, and brushes shed continuously. Keep that band dry.
Too Much Soap
Counter-intuitive, but using too much cleanser makes it harder to rinse out properly. Residual soap at the bristle base is stubborn to shift and affects both application and brush longevity. Less is genuinely more here.
Pressing Too Hard
The instinct when a brush is really stained is to scrub. What actually works better is patience – let the water and soap break down the dried product before you work it out. Scrubbing on the cleaning mat with too much force frays the bristles over time.
Drying Upright
Even if you avoid soaking the ferrule during washing, standing brushes upright to dry allows water to pool right back into that glue. Wooden handles also chip and splinter when they stay damp. Don’t do it.
Over-Relying on Spray Alcohol
Spot cleaning between washes is great – but spray alcohol used too often strips the natural oils from bristles and leads to a harder, more streaky application over time. Use it when you need it, not as a default.
How to Clean Makeup Brushes Fast (Including Spot Cleaning)
Sometimes you need a brush cleaned in the next three minutes, not the next three hours. Here’s what actually works.
- The dry towel swirl. Take a dry or slightly damp hand towel and swirl the bristles against it to lift surface excess. Good for a quick refresh between shades during a makeup session.
- Spray alcohol or brush refresh spray. Spritz directly onto the bristles or onto the towel, then swirl to remove excess product and sanitise. Saint Jack’s Makeup Sanitising Mist, Mecca Max’s brush spray, and the Sephora Collection equivalent all work well here. The antibacterial effect is a bonus.
- Micellar water. Works similarly, but make sure you’ve thoroughly swirled off all residue before using the brush again – any leftover micellar formula will interfere with your makeup.
Waterless Brush Cleansers: Fastest Way To Clean Without Water
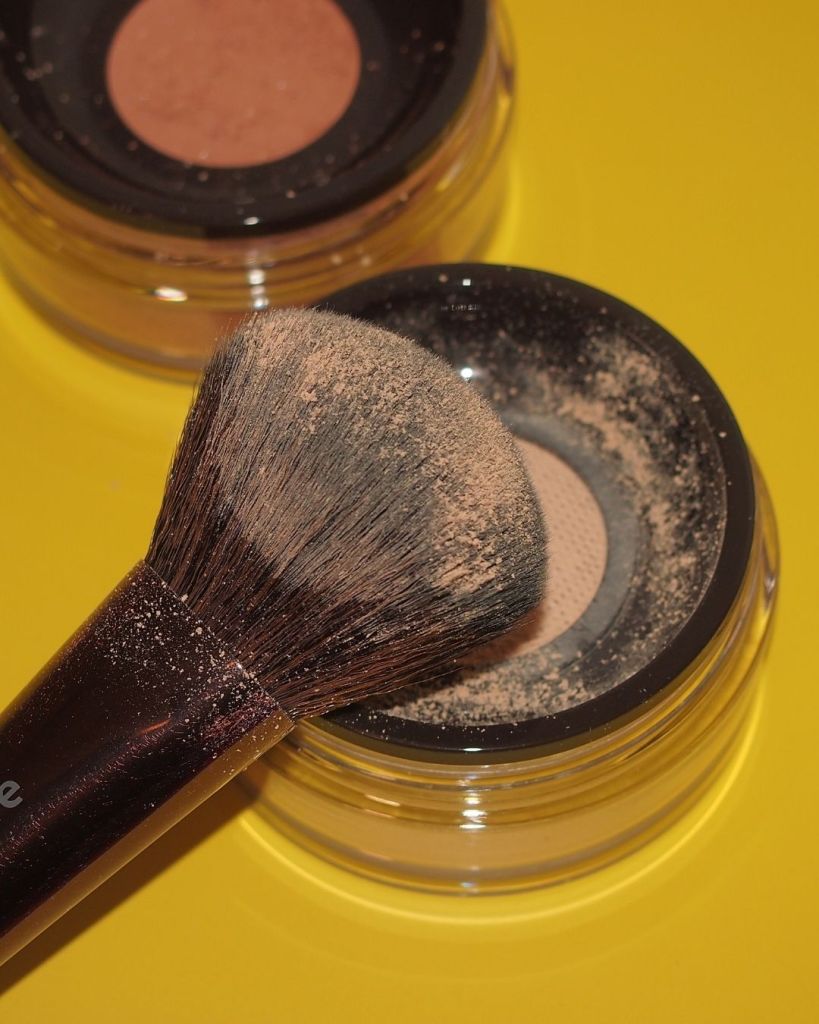
Waterless brush cleansers sit somewhere between a spot cleaner and a full deep clean. They’re designed to dissolve makeup, oils, and surface bacteria quickly without needing to run your brushes under a tap – which is exactly why they’ve become staples in professional makeup kits and backstage environments.
Unlike a traditional soap-and-water wash, these formulas are usually alcohol-based, which helps them evaporate quickly and dry brushes fast enough to reuse almost immediately.
They’re particularly useful for:
- switching between shades during makeup application
- sanitising brushes between clients
- refreshing brushes between deep cleans
- travel or on-the-go makeup bags
- situations where brushes need to dry quickly
That said, they’re not a complete replacement for a proper deep clean. Waterless cleansers remove surface buildup well, but over time, product still accumulates deeper in the bristle base and around the ferrule.
How To Use A Waterless Makeup Brush Cleaner
The process is simple:
- Spray the cleanser directly onto the brush bristles or onto a clean towel
- Swirl the brush gently against the towel to lift pigment and residue
- Repeat until the brush no longer transfers colour
- Allow the alcohol to evaporate fully before using again
Most formulas dry within seconds to a few minutes.
One thing to keep in mind: overusing alcohol-heavy cleansers without occasionally conditioning or deep cleaning your brushes can leave bristles feeling drier or stiffer over time – especially natural hair brushes.
Saint Jack Bang For Your Brush Cleanser, $68.00
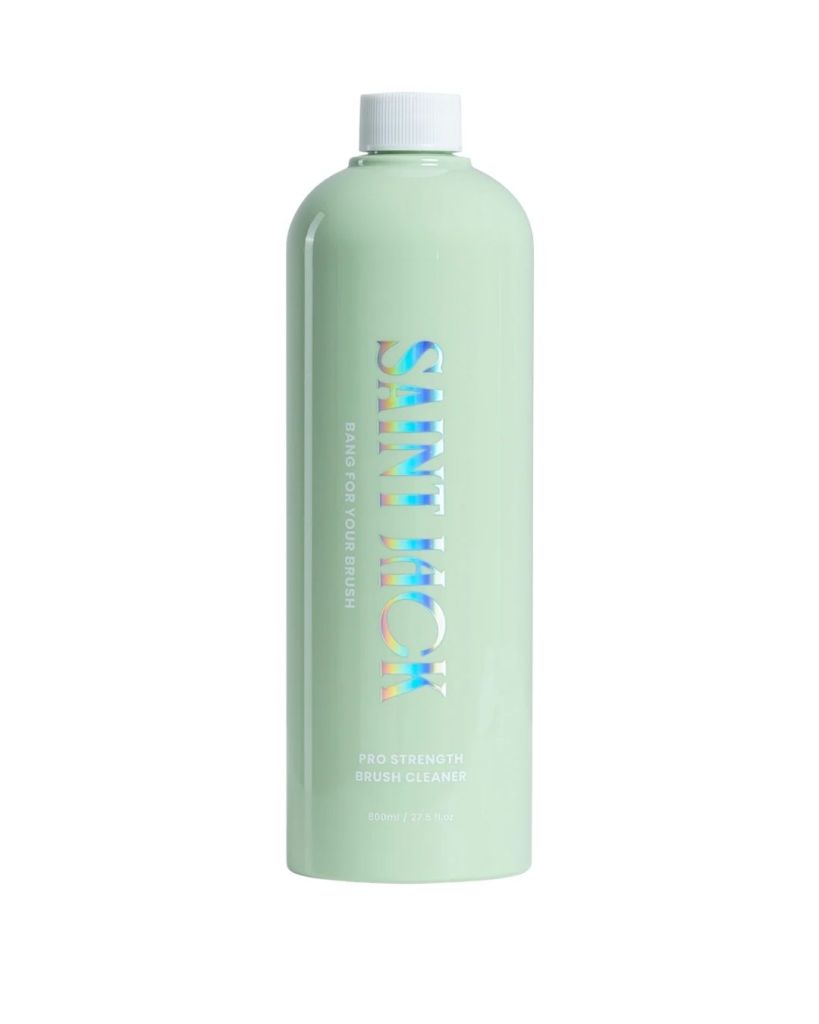
An Australian-made option that leans more modern and aesthetic while still functioning as a practical quick-clean solution. It works well for everyday brush refreshes and fits nicely into personal makeup routines where you want something faster than a full sink wash.
Features we love:
- Quick-drying formula
- Convenient for in-between cleans
- Good for daily maintenance
- Australian brand
Are Waterless Brush Cleansers Enough On Their Own?
Not entirely.
Think of them the same way you’d think about hand sanitiser versus properly washing your hands.
They’re incredibly useful for maintenance and quick sanitising, but eventually your brushes still need an actual deep clean with water and cleanser to remove trapped oils, residue, and buildup sitting deeper in the bristles.
A good rhythm for most people looks like:
- waterless spot cleans throughout the week
- one proper deep clean weekly
That balance keeps brushes cleaner, softer, and performing properly for longer.
How to Clean Makeup Sponges and Beauty Blenders
Sponges are a different category of problem. They’re porous, they stain, and they create a damper internal environment than brushes – which makes them far more susceptible to mould growth between uses.
Why Sponges Hold More Bacteria
Because of their structure. Liquid foundation and concealer get worked deep into the foam during application, and the inside stays damp long after the surface feels dry.
If a sponge has been sitting in a sealed makeup bag or anywhere without airflow – consider replacing it. There are genuinely alarming examples of people cutting open their beauty blenders to find mould. Don’t find out the hard way.
One important note: sponges cannot be sanitised for use on multiple people. If you’re doing anyone else’s makeup, that’s a new sponge every single time.
How to Wash Makeup Sponges
A dedicated sponge cleanser is the most reliable way to get everything out.
The process:
- Dampen the sponge thoroughly with lukewarm to warm water
- Work your cleanser into the surface – and into the areas where foundation or liquid product has built up most
- Squeeze, lather, and repeat
- Rinse until there are no suds left
- Squeeze out as much excess water as you can, then press out the rest with a dry towel
For very stubborn staining, a short soak (15-20 minutes, not overnight) can help shift old product. Very long soaks tend to create a cycle of the sponge never properly drying out.
When to Replace a Beauty Sponge
If it’s been kept in a well-ventilated space, allowed to dry fully between uses, and cleaned regularly, a beauty blender can last until it physically starts to disintegrate. If you’re not sure about its hygiene history – especially after travel – replace it. A clean sponge matters more than a stain-free one.
The Best Makeup Brush Cleaners and Tools
Best Liquid Brush And Sponge Cleansers
Daiso Detergent Cleaning For Makeup Puff And Sponge, $3.30

The cult find. You can find this in person at a Daiso store. If you don’t have one local, a x4 pack at Stylevana costs under $20.
Affordable, effective, and widely available across Australia. It cuts through foundation and powder buildup without stripping bristles.
Features we love:
- Very low price point, especially for the volume
- Works on both brushes and sponges
- Easy to find in most Daiso stores nationally
Beauty Blender Liquid Blendercleanser, $27.00
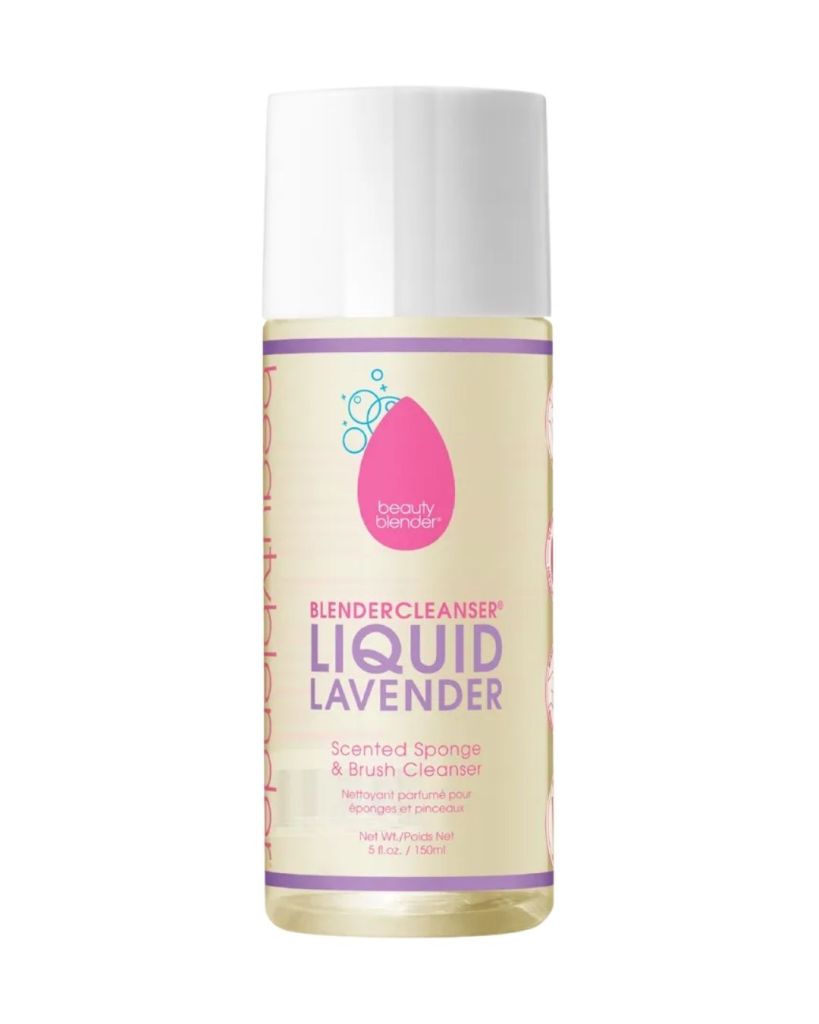
A reliable, well-formulated liquid cleanser that works across both sponges and brushes without leaving residue.
Features we love:
- Dual-purpose for brushes and sponges
- Rinses clean without leaving soap residue
- Available at most Australian beauty retailers
Real Techniques Brush & Sponge Cleansing Gel, $19.99

One of the most accessible dedicated brush cleansers on the Australian market, easy to find and genuinely effective on all brush types.
Features we love:
- Widely stocked at chemists and department stores
- Gel formula makes it easy to control how much you’re using
- Works well on both synthetic and natural bristle brushes
Saint Jack Cosmetics Sponge Bath Fast-Acting Sponge Cleaner, $38.00
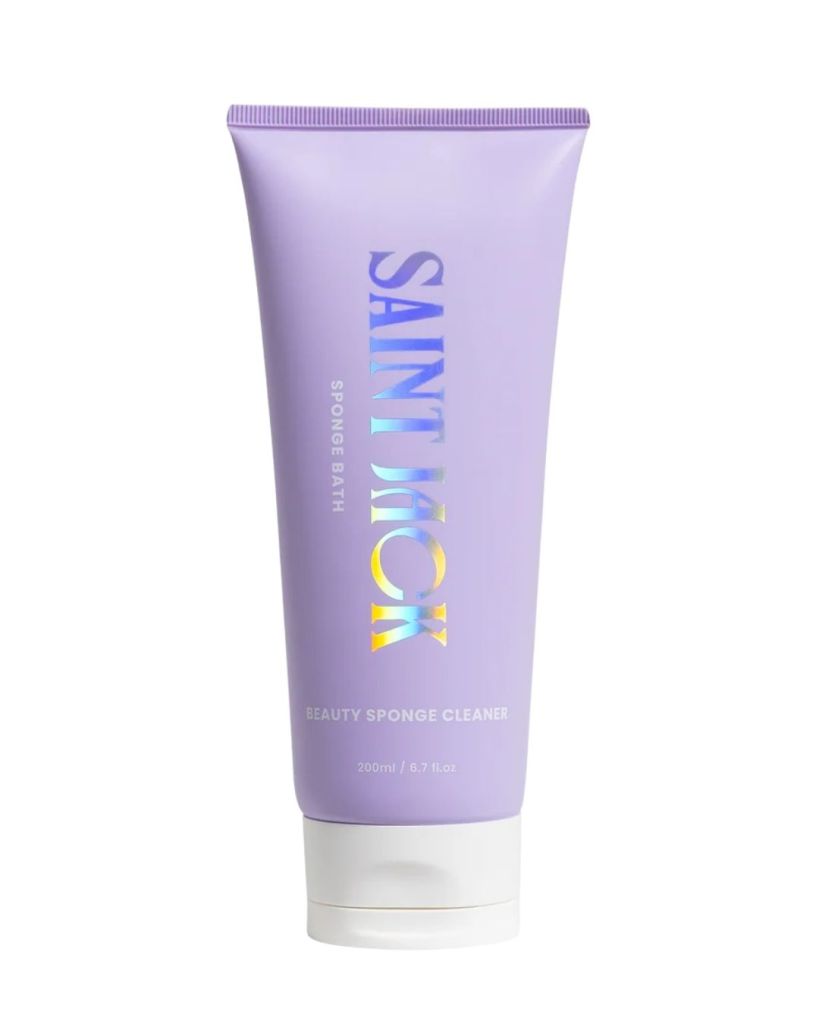
An Australian-made, fragrance-free sponge cleanser that cuts through built-up product, oils, and bacteria in seconds.
Features we love:
- Fast-acting formula that lathers quickly and rinses clean
- Fragrance-free, making it a good option for sensitive skin types
- Tackles the bacteria and oil buildup that can cause patchy application and breakouts
Best Cleansing Soaps
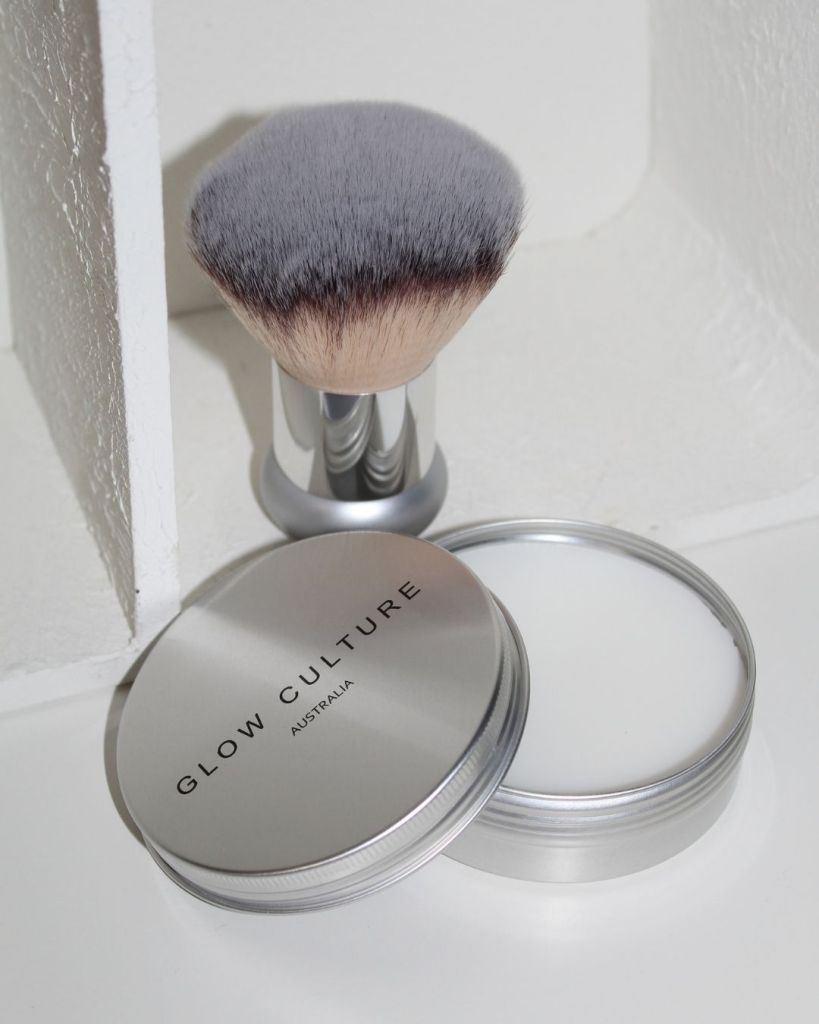
Glow Culture The Glow Brush Cleaner, $20.00
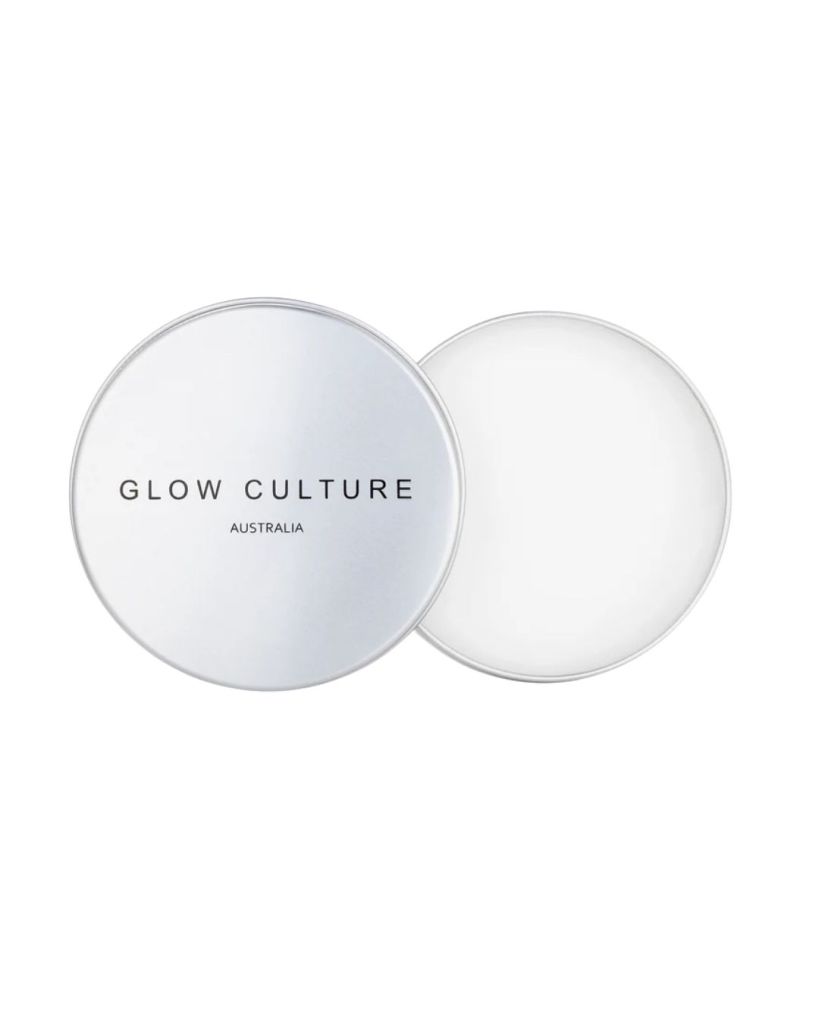
A standout for its practicality. The solid soap doesn’t over-foam, which makes rinsing significantly easier, and it lifts product effectively without stripping.
Features we love:
- Cleansing mat built into the lid
- Doesn’t foam excessively, making rinsing faster
- Works on both natural and synthetic bristles
Beautyblender Tool Scrub Unscented Exfoliating Solid Soap, $39.00
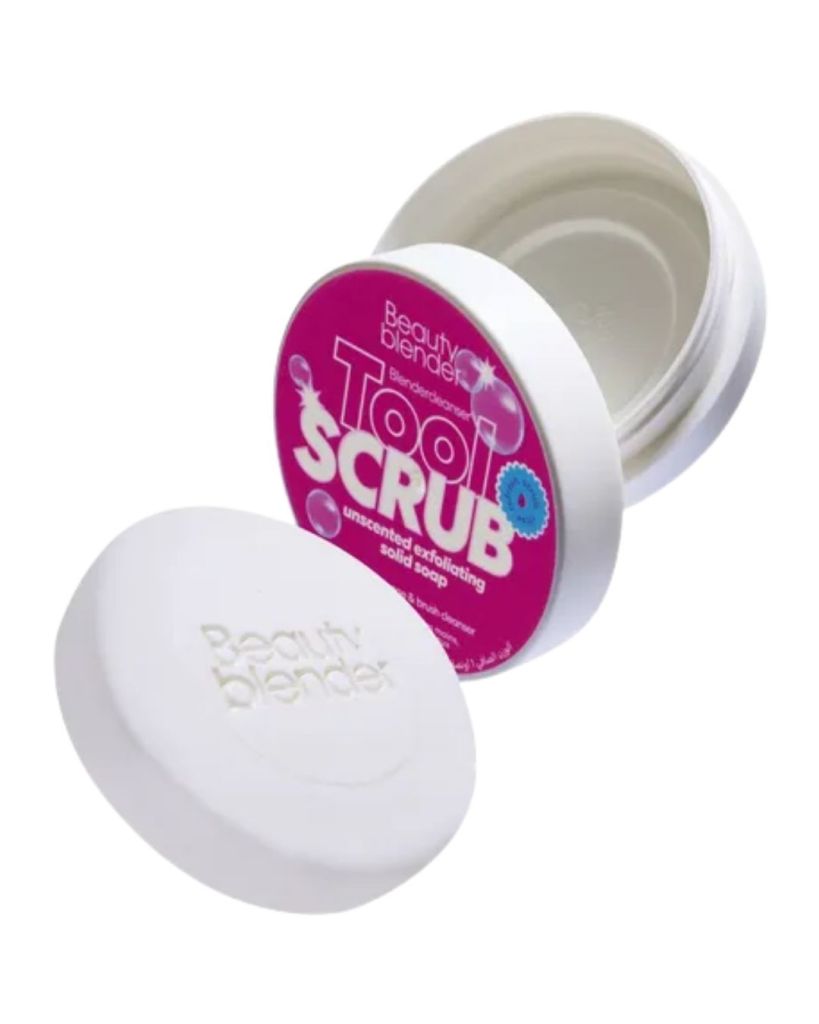
The exfoliating solid soap version from Beauty Blender, formulated to be tough on product residue while conditioning the sponge and brush fibres.
Features we love:
- Good for both sponges and brushes
- Travel-friendly format
- The texture helps work out stubborn staining
Quickface 2-in-1 Makeup Brush Cleansing Pad And Soap, $20.00
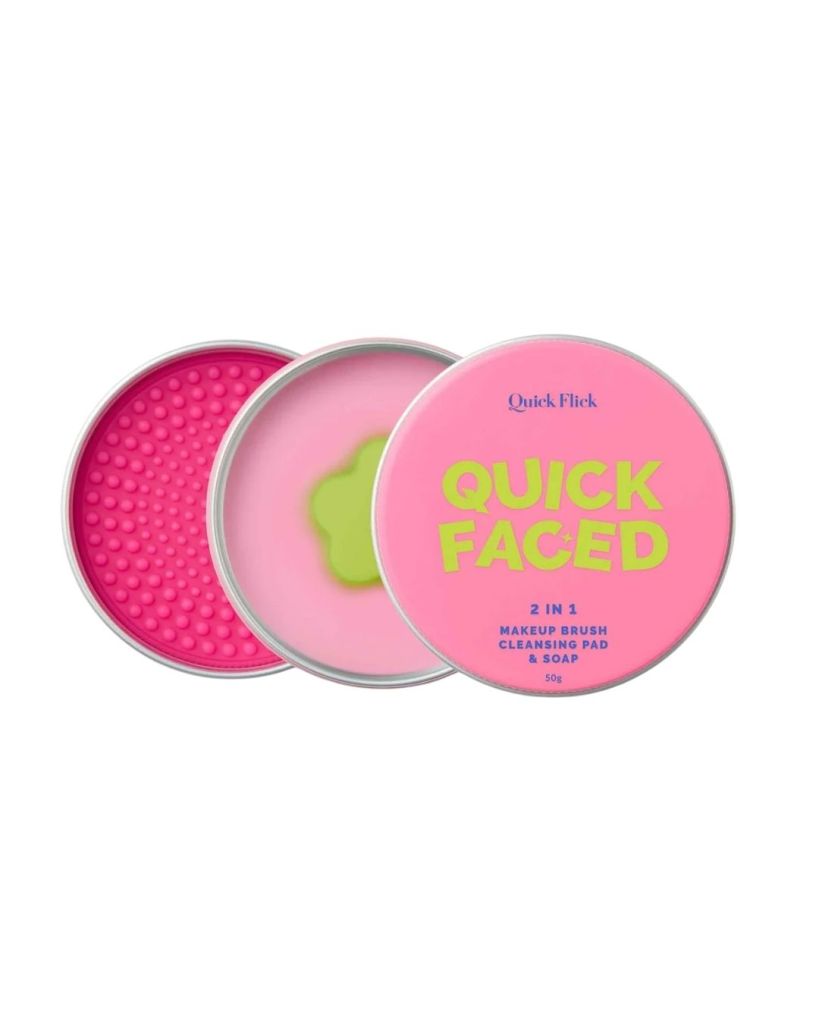
A newer Australian option that combines solid cleanser and a silicone cleaning surface in one compact tool.
Features we love:
- Cleaning surface built in
- Compact and travel-ready
- Works well as an everyday cleaning option
Best Quick-Clean Brush Sprays
Saint Jack Makeup Cleaning Mist, $33.00

Functions as both a brush refresh and a sanitiser, which is what elevates it above a plain spray alcohol. Works well on a tissue for a quick swirl-and-clean method.
Features we love:
- Antibacterial formula sanitises as well as removes pigment
- Can be used directly on bristles or on a towel
- Doubles as a general makeup tool sanitiser
Mecca Max Power Tool Brush Refresh Mist, $22.00
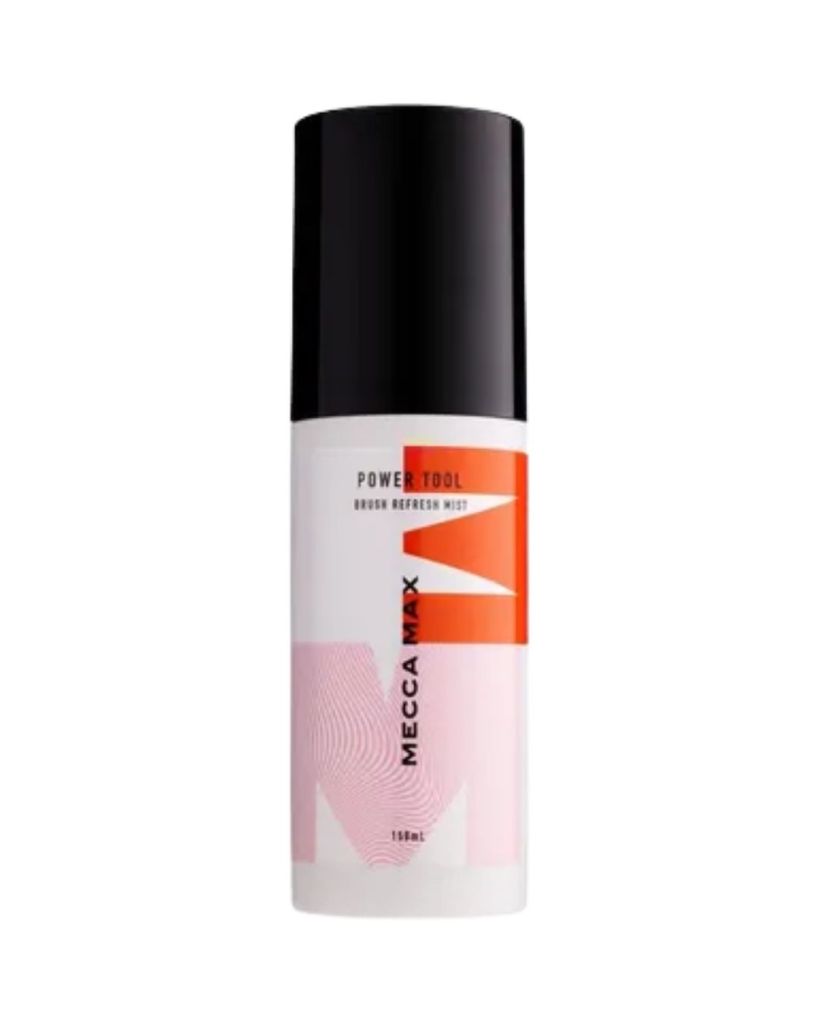
A solid antibacterial option from a widely available Australian retailer, reliably effective for spot cleaning between uses.
Features we love:
- Easy to find in Mecca stores nationally
- Quick-drying formula
- Antibacterial as well as cleansing
How to Dry Makeup Brushes Properly
This is where most people undo a perfectly good wash.
Why Drying Flat Matters (And Why It’s Still Not Ideal)
Drying flat is better than drying upright – but not by much. The best method is to dry brushes at a slight downward angle, so any remaining moisture moves away from the ferrule rather than pooling in it.
Rolling up a hand towel into a wedge and resting brushes against it works well. Some people use a brush drying rack – these are inexpensive and hold the angle correctly.
How Long Do Brushes Take to Dry?
In normal conditions, brushes shouldn’t take longer than 24 hours. If they’re still damp after a day, the environment is too cold or too humid – and that itself is a problem for the bristles and glue.
Try to schedule deep cleans for a warm day, or a time when you can get some airflow through the space.
If you’re desperate and need a brush dried faster: a hair dryer on the cool setting only. Heat will melt synthetic bristles. Speaking from experience.
When to Replace Makeup Brushes
Good brushes, looked after properly, can last years. The signs that it’s time to let one go:
- Constant shedding – a few bristles here and there is normal, but if hairs end up on your face every time you use a brush, it’s past its useful life
- A strange smell – this can indicate mould deep in the bristle base that washing alone won’t fix
- Stiff, splintered, or misshapen bristles – once the shape is gone, so is the application
- Handle damage – cracking, chipping, or peeling that suggests the brush has been consistently over-wet
The good news: makeup brushes are genuinely affordable now, and a well-made set that’s properly cared for should last next to forever. The care is the investment.
Frequently Asked Questions
How often should I clean my makeup brushes?
Once a week as a minimum for a deep clean. After every use if you have acne-prone or sensitive skin, though a spot clean rather than a full wash is fine for daily maintenance.
Can I use baby shampoo to clean makeup brushes?
Yes – it’s one of the most recommended options for a reason. It’s gentle enough not to strip natural bristles but effective enough to cut through foundation and pigment buildup.
Why are my brushes still stiff after washing?
Usually one of two things: either there’s soap residue left in the bristles from not rinsing thoroughly, or the brushes dried in a way that caused the bristle shape to set incorrectly. Rewash and reshape while wet, then dry at an angle.
Can dirty makeup brushes cause breakouts?
They can absolutely contribute. Dirty brushes can transfer bacteria onto skin, introduce acne-causing microbes, and exacerbate existing blemishes. If you’re breaking out and can’t identify the cause, start with your tools.
How do I get foundation out of a really dense brush?
More patience, not more pressure. A small amount of micellar water worked into the lather, a longer soak time on the bristles, and thorough rinsing. Avoid scrubbing hard on a mat – it damages more than it helps.
When should I replace a makeup sponge?
Replace it if you’re not sure about its hygiene history, if it’s been stored in a damp or poorly ventilated spot, or if it’s physically degrading. A clean sponge always matters more than a stain-free one.
Can you clean makeup brushes without brush cleaner?
Yes, and most people already have something at home that works.
Can you use shampoo to clean makeup brushes?
Absolutely – just avoid anything expensive, protein-heavy, or intensely conditioning. A mid-range or basic shampoo works well.
Can you wash makeup brushes with hand soap?
Generally yes, as long as it’s not too harsh. Avoid anything antibacterial or heavily fragrance-laden if your brushes have natural bristles.
What about vinegar or baking soda?
Skip both. They’re too astringent and not conditioning enough to properly lift the makeup residue you need to remove – and they can damage natural fibre bristles. Stick to something gentler.
Important you know: This article may contain affiliate links, which means we may earn a small commission if you make a purchase – at no extra cost to you. We only recommend products we genuinely love and use ourselves.
Leave a Reply